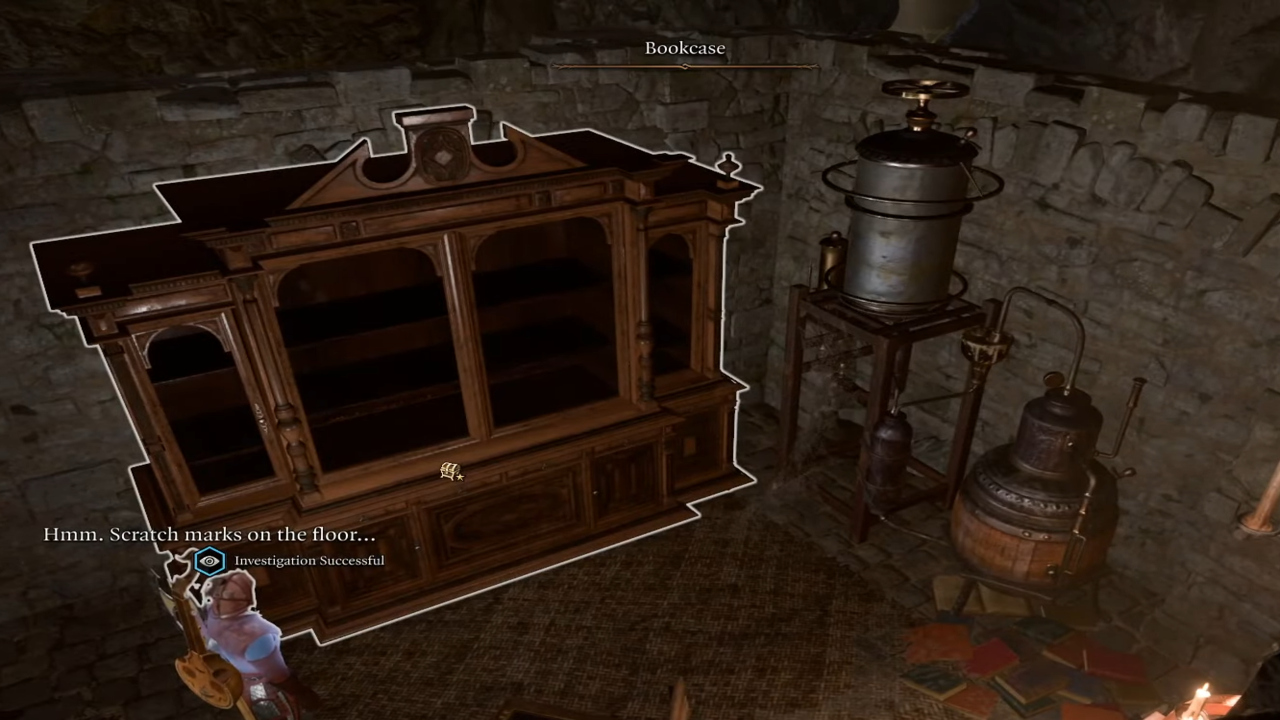
Have you ever been in the cellar of the Blighted Village apothecary and noticed scratch marks on the floor after passing an Investigation check? These marks indicate that the bookcase before you can be moved to reveal a hidden passage. But if you’ve already searched the area and found nothing, it might be time to reconsider your approach. Here’s how to move the cellar bookcase in Baldur’s Gate 3 so you can obtain the Necromancy of Thay?
How to Complete the Search the Cellar Quest in Baldur’s Gate 3

First, to locate the cellar in Blighted Village, head to the Apothecary shop, which has plenty of plants and bottles. Look behind the counter for a wooden hatch at coordinates X:32 Y:379. Interact with it to drop down into the cellar, where you’ll find a room with a bookcase.
How to Move the Blighted Village Apothecary Cellar Bookcase

There is a hidden passageway to a cave behind the cellar bookcase. However, knowing how to move the cellar bookcase can be tricky. To reveal the hidden massage way behind the bookcase, you’ll need to move the crates on the left side of the bookcase.

You can do this by clicking and dragging them with your mouse while standing near them. Once the crates are moved, you’ll see a lever behind them, as shown in the image above. Pulling the lever will move the bookcase and reveal the secret passageway.
Related: Baldur’s Gate 3 Change Hair or Appearance: Is it Possible After Customization?
All Correct Ornate Mirror Answers in Baldur’s Gate 3

There is an open cave located behind the bookcase in the cellar. Inside the cave, there are two Guardian undead who will try to attack you as you approach their coffins. It is recommended to attack them from a distance to avoid being surprised. Since they are undead, you can use Cleric attacks to knock the undead down, giving you an advantage.
Upon moving forward, you will come across a small wooden platform in the east and a grand ornate mirror that reflects more than just your face when you gaze into it.
The Ornate mirror was enchanted only to let allies continue. However, you can speak with it and convince it to let you through. To convince the ornate mirror, you must choose the following dialogue choices (make sure to choose no aggressive responses):
- “Yes, an ally! I’m an ally of your master’s.”
- “Szass Tam is a foul, wretched creature.”
- “I read a doctor’s journal – he used balsam ointment to clean a wound.”
- Any choice but: “I’d see the ones I love.”
Related: How to read the Necromancy of Thay in Baldur’s Gate 3
After convincing the Ornate Mirror to let you through, you can enter Ilyn Toth’s laboratory where you can obtain the Necromancy of Thay book for the quest, which will give you the choice of reading it or destroying it. If you do not pass the conversation tests with the Ornate Mirror, a construct will be called upon to battle you.
Author’s Note: I wrote this guide while playing Baldur’s Gate 3 on Steam Deck.
- This article was updated on August 6th, 2023